
How to View Stereoscopic Photos
| Home |
Conversions |
Gallery / Examples |
Sponsors |
Resources/Editing |
Rules |
Submission |
How to View
First, a little theory so you know the basis of viewing
stereoscopic images, why we have the different gizmos. Then I
will list them, starting with simple and inexpensive, and up
to modern electronic displays.
I’m making the assumption that you have 2 working eyes and are
able to perceive images in 3D, like at a 3D movie or looking
at a Viewmaster.
Hold your arm straight out, raise a finger, aligning it with
something at least 8 to 10 feet away.
Alternate closing one eye. Notice how your finger’s position is different horizontally relative to the distant object.
This is demonstrating that each eye is seeing something different. Our brain fuses the 2 images together, using the differences to give us the perception of 3 dimensional space.
Now, if we take a camera, and take one picture from the
position of your left eye, then move it to the position of
your right eye for a second picture, you will have a
stereoscopic pair.

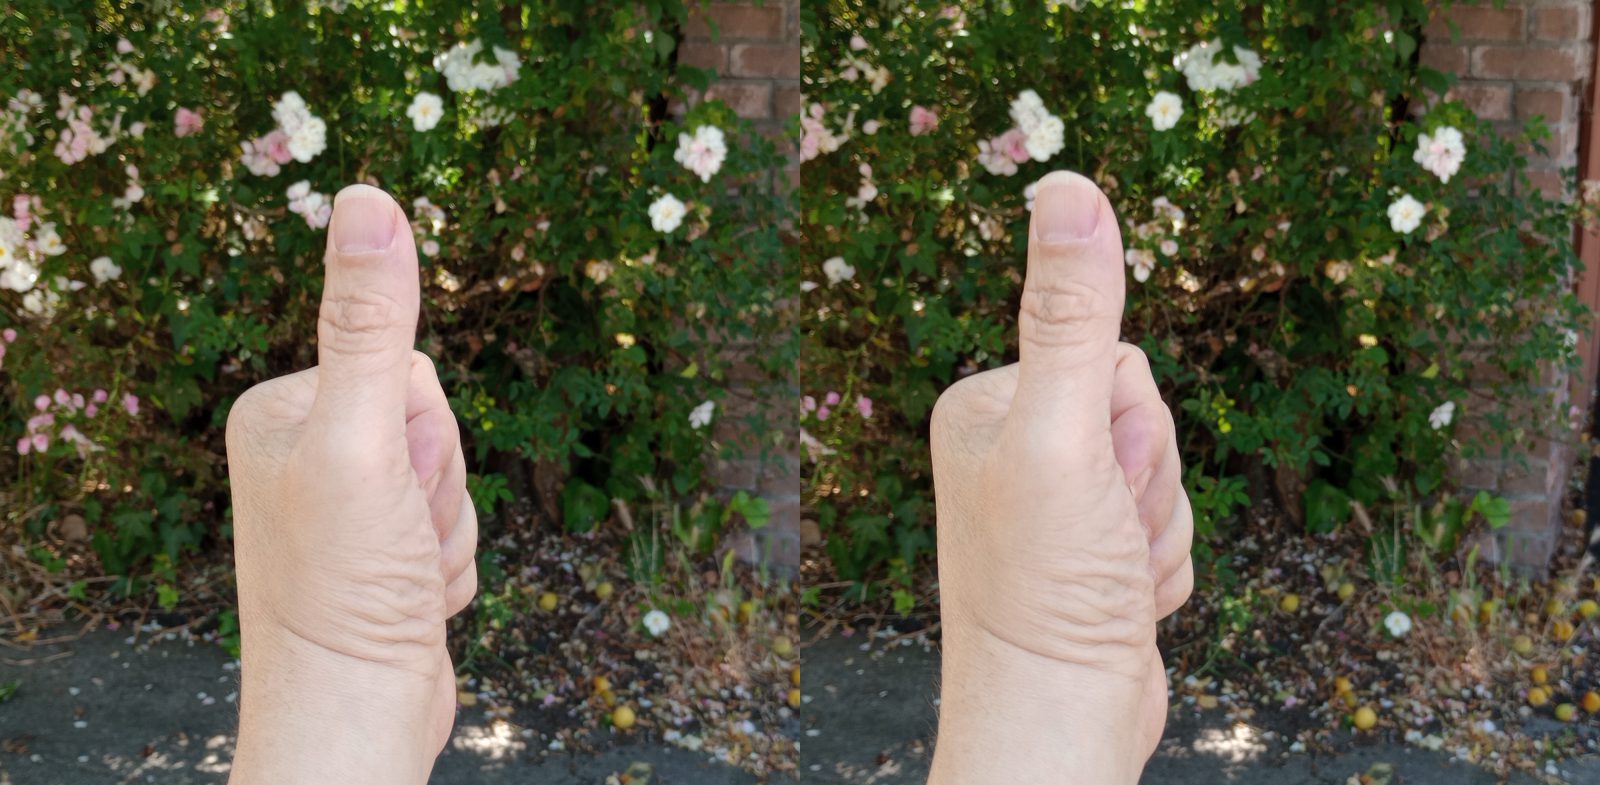
These pairs are most commonly combined into a single jpeg with
left image on the left and right image on the right. This is
referred to as “side by side” or SBS
The job of the viewing gizmos is to have each eye comfortably
viewing only the image ment for that eye, and not the other.
First way of viewing does not actually require a gizmo. But it
may be uncomfortable, and require practice. (personal note, as
a teenager I loved 3D was not able to view using these
techniques. I’ve only been able to in the past few years)
“Free viewing” is looking at a
SBS photo and relaxing your eyes until the 2 images merge into
a single 3D view. A variation is using a SBS pair where the
left eye image is on the right, and the right eye image is on
the left. When your eyes are crossed you will be viewing the
images with the correct eye.
Viewing the pictures on a cell phone is probably the best size
to start.
A more in depth explanation is at https://stereoscopy.blog/2022/03/11/learning-to-free-view-see-stereoscopic-images-with-the-naked-eye/
Single Mirror
A more comfortable way of viewing is with the aid of a small mirror, 5” x 7” would be a good start. A computer monitor is better than a phone for this.
The image for this has the right side horizontally flipped so that it will look correct in a mirror.
With both eyes look at the left image. Without moving hold the mirror edge against your nose/forehead, mirror reflecting the right image. Close your left eye as you make some adjustments, as you do not want the left image in the reflection. Open both eyes, and you should be able to merge the two images into a 3D view.
Mounting the mirror on something, like maybe duct taping it to
a ruler, would steady it for viewing multiple pictures.
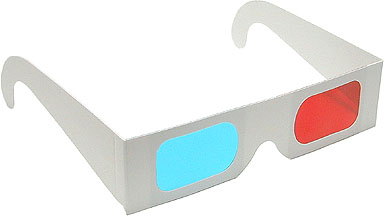
Anaglyph glasses are what is
commonly associated with 3D. They are most often red and cyan
filters, with the red over your left eye, cyan on right.

American Paper
Optics is a good supplier of bulk glasses, and our
sponsor 3D
Gear carries smaller
quantities
The image is processed so that it is not seen by the opposite
eye. Here is the original
and the processed left and right
and the final anaglyph
Other ways of viewing
Note, this will be expanded in the next week.
https://3dgear.com/products/reproduction-holmes-stereoscope
https://3dgear.com/products/owl-stereoscopic-viewer
https://3dgear.com/products/owl-lite-viewer
https://3dgear.com/products/m3d-viewer
https://3dgear.com/products/minifold
https://3dgear.com/products/pixi-3d-viewer
https://3dgear.com/products/screenvu-mini-stereo-viewer
https://3dgear.com/products/one-eye-stereoscope-aka-freeviewers-assistant